This is part two of a two part series on the End User Event in Utrecht, June 2013. Part one is here.
In the previous part I outlined three platforms to publish your 3D models to: Sketchfab, Augment and Layar. In this post I’m showing you who benefits from these platforms (and others like it) and finally I’m showing you how to use them.
Who benefits?
There are many use cases for online and mobile 3D. If you’re a 3D artist trying to sell your skills, either as an online portfolio, during presentations or in a job interview.
Always having your 3D models at the ready means being one step ahead of the crowd. You can for instance embed your 3D models on a behance page or show models in a boardroom on your tablet. Imagine you’re pitching a design product and want to show an unboxing, or animation. You can do so with augment or layar.
Or you can embed a 3D model on your kickstarter page. This way you might outflank the “no 3D visuals” rule on kickstarter (no guarantees though). If you’re an artist creating intricate 3D decorations and art, 3d is the only way to fully present your products. Joshua Harker for instance uses Sketchfab to its full potential.
When working in an iterative design environment, such as game studios, design or architectural firms, it’s much easier to share the 3D asset instead of a turntable animation or renders. It’s faster, more complete and closer to the actual product you’re working on.
How to use
Essentially it all works the same: you make an account on the service you want to use, prepare a 3D model suitable for that platform, export the 3D model, upload it to your platform of choice and get a link, iframe, qrcode and whatnot to access your model. There are some specifics though.
Sketchfab
Sketchfab has published many exporters for 3D software. There’s even one for minecraft. Such an exporter makes it much easier to get your 3D models out there. Incidentally I’ve written the exporter for 3dsMax to Sketchfab, nice! Keep in mind that Sketchfab can handle pretty large models and textures, but sketchfab has to download it first when you look at it. Lighter is always better. Try to make full use of the shading system which also supports normal maps, reflections and opacity.
Here’s a video of a walkthrough. I’ve used one of the 3D models that ship with 3dsMax to demonstrate.
Layar
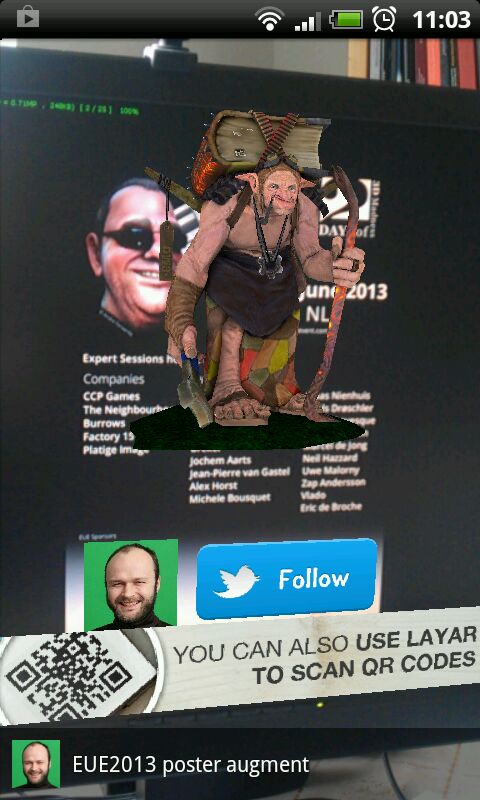
Although layar is primarily aimed at 2D contents it’s actually a mobile 3D engine perfectly capable of displaying 3D models. Their main product, the layar creator, makes it very easy to create a layer, augment a print production and add some buttons, images and videos. Adding a 3D model isn’t the easiest thing to do but it could be worse. Keep in mind that a mobile 3D model has to be pretty lightweight which is OK since you only have a tiny screen to display it on.
- First you make the model lightweight enough to run on a phone. Also make sure you use as little textures as possible and also make them small.
- Export the model to an obj
- Use the model converter provided by layar to convert the 3d model to an l3d. That’s the native format running on the layar platform.
- Upload the 3D model somewhere layar can get to
- Make a new layer with the creator
- Add a page (the thing you want to augment, like a brochure, business card, poster, you name it)
- Add a special “json-button” to the page. this button holds some code which links to your 3D model
- Edit the json code to include the url to your 3D model. You can also edit some properties here, such as the scale and rotation of the model.
- Publish the layer
Get the page we’re augmenting here


Augment
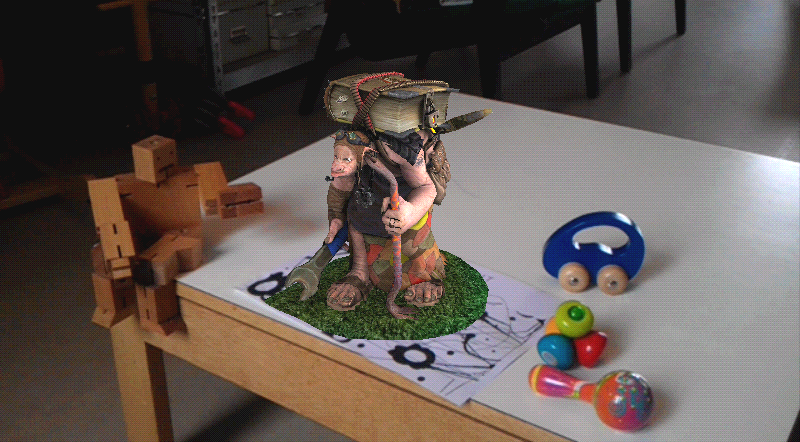
You can upload your models to augment manually, but it’s more convenient to use the exporter for 3dsMax they offer for free. Yet again, I’ve written that script, hurray! The exporter actually can texturebake your model automatically. This is very practical since the lighting in the augment engine is pretty minimal. This is of course dictated by the minimal hardware it has to run on. At the moment of writing this a newer version of the exporter is under development.
Here’s a video walkthrough. Note that in the first run I let the script unwrap the model of the troll. This results in less than optimal results. In the second run I use the UV-coordinates which are already applied to the model.

