I’ve watched the demo Damian Nenow gave about Paths of Hate by Platige Image. He shows some of the shots made for this short and he shows the breakdown of a few of them. It’s about two WWII fighterplanes battling between the clouds. The short is very stylized and look great but a major player in this movie are the clouds. They look realistic yet fit the cartoon-look of the movie. Damian shows us how he made these clouds in like 10 seconds. I’ve tried to follow his tutorial. This is my take on them. Although mine don’t look as nice, I think I’ve got the theory in place and have some decent looking clouds which render very fast. Watch the Siggraph 2011 movie here
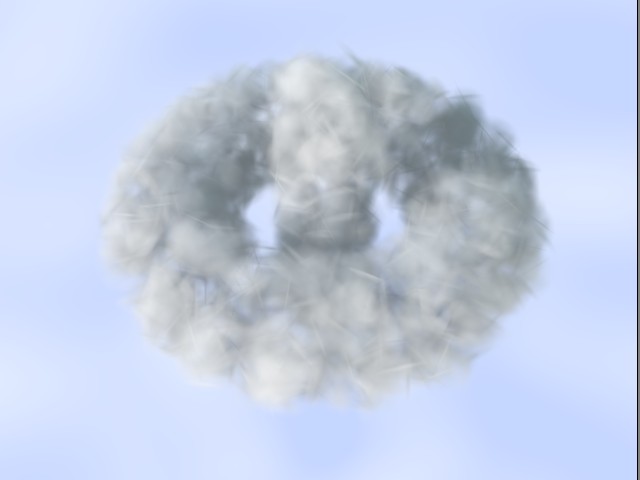
In short
- you create a cloud-shaped mesh and light it with direct lights and GI.
- bake this light to a texture and transfer the baked texture to the vertex-color channel with a vertex-paint modifier.
- use either multiple vertexpaint modifiers or the translucency modifier by Grant Adam to fake the subsurface-scattering look of the clouds.
- Scatter a lot of planes on the cloud-mesh. Use a nice opacitymap on the scattered planes.
- transfer the vertex-color of the cloud-mesh to the vertex-color of the scattered planes using a projection-modifier.
- And you’re done.
Walkthrough
Click on the images for a larger version.
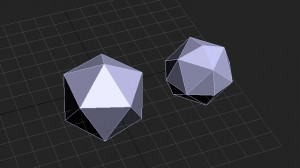 |
Start off with some geometry to build a cloud-mesh. These are bits of cloud |
 |
This is the massing of the cloud-mesh |
  |
I’ve used scatter to create the cloud-mesh. Damian uses an object painter script which gives you more control over the end-result |
 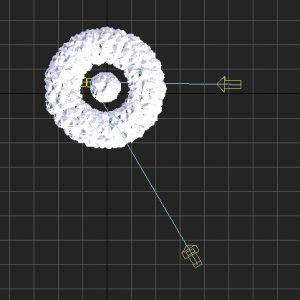 |
Then you need to light the cloud-mesh. I’m using Vray to render and use two direct-lights with a slight blue tint. You want to give your clouds quite some contrast since this will help get the subsurface-scattering look. |
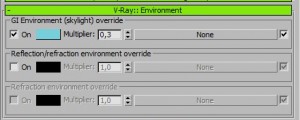 |
Also use a little bit of GI. The rest of the lighting setup is pretty standard. This could be replicated in any renderengine. There is no Vray specific stuff here. |
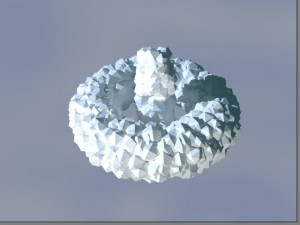 |
This is my result. I had to tweak my lighting a few times until I got the right look. |
 |
I like the amount of contrast here |
 |
Then you want to bake this lighting to a texture. I Use a vraycompletemap and use the automatic unwrapping settings. I store the texture in the diffuse channel. These are all pretty standard settings. |
 |
This is my result. Note that I’m always struggling with my gamma-settings. You can see that this is a lot darker than the previous renders. |
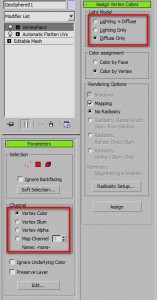 |
Now comes a nice trick. This one’s new for me. You transfer the lighting in the texture to the vertex color. Add a vertexpaint modifier to the object and make sure the options are set like the screenshot. You are transferring bitmap-colors into the vertex Color channel. You’re only transferring the diffuse map (the one we just baked). Press the “Assign” button. You’ll see a progressbar to indicate the progress. |
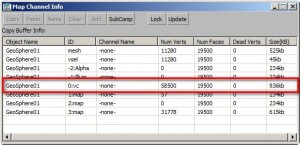 |
You can check if you actually succeeded to put some data into the vertex color channel by opening up the Channel info utility. You can see that there actually is data in my vertex color channel. |
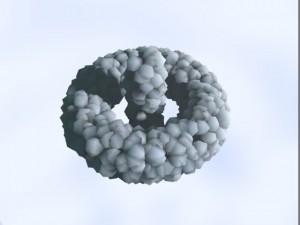 |
Tthis is the result when you render the vertex color. To do this, get rid of all your lights and switch to the scanline renderer. Then assign a new material to your cloud-mesh and put a “Vertex Color” texturemap in the diffuse channel. In the texturemap, make sure that you use channel 0. Also make the material 100% self illuminating. |
 |
You can add multiple vertex paint modifiers to change the look of the colors. It works just like photoshop, there are blending modes, you can change the opacity of the layer and adjust the levels and colors. Alternatively, Damian uses a translucency modifier by Grant Adam. Find it here. Essentially you’re recreating the sss-look of the clouds here |
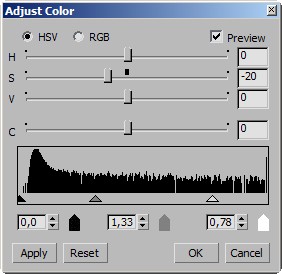 |
You can adjust the color of each vertex color layer |
 |
The cloud-mesh will serve as a base for the sprites. Give the sprites a nice opacitymap. By using the right opacitymap you can control the amount of stylization of the final clouds. I used scatter again to scatter a lot of planes on my mesh. You need to get a dense look. I had about 4500 planes in this example. |
 |
This is a render of that. There’s a nice soft look going on. Now it’s time to get the cloud-color. |
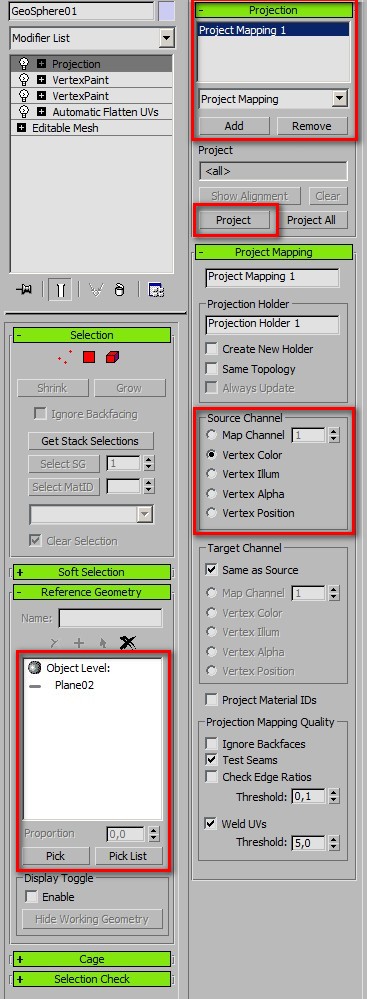 |
To get the color from the clouds, you need to transfer the vertex-color of the cloud-mesh to the sprites. You use a projection modifier for that. Add the modifier to the cloud-mesh. Pick the sprites as reference geometry (collapse that to a single mesh first). In the projection rollout, press “add”. In the source channel group, pick the “Vertex color” option. Finally press “Project”. This will transfer the colors from the cloud-mesh to the sprites. |
 |
Almost done. To render them, place a “Vertex color” texturemap in the diffuse channel of the collapsed sprites. You still have the opacitymap, so that’s good. Also set the material to 100% self illuminating. Now you can render with scanline without any lights. Damian already said it: it’s very fast. |
The results

 Falloff
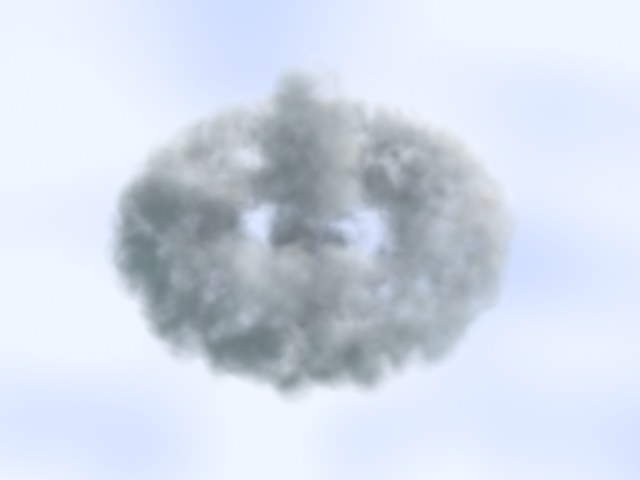
Finally, as a reaction to some comments, I’ve tried to apply a falloff to the opacity channel of the cloud material to make the cloud appear softer. It’s a perpendicular/parallel map. The perpendicular part is the cloud-texture, a noise map in my case, the parallel part is a black color. This means that if I’m looking at the side of on of the cloud-planes the material makes it transparent. this actually makes the look of the clouds much smoother and less feathery.


15 Comments
Join the discussion and tell us your opinion.
Thank you very much for your time, I were struggling to replicate the tutorial and my approach was different and a bit wrong. I’m glad you have been generous enough to share your result.
Glad it helped Erik
Thank You !! 🙂
If it possible to give us max file to check if we do everything right?
Thanks mate.
Fair play for this! I was thinking about a similar system after watching pixomondo’s red baron breakdowns but the missing link was taking the shading from a solid and putting it into the diffuse of a card – the projection does this perfectly. Much appreciated for the run down!
Thanks John,
I would have never been able to do something like this if it wasn’t for that video by platige image. On the other hand, my regular work actually never calls for stuff like this, so who knows!
Klaas
This tecnique very powerfull. thanks for platige image sharing and revealed technique.
Good tutorial. Thank you 🙂
How do you get rid of all the edges in the clouds though. A falloff map works but you still can see the edges of the sprites.
Hi Dave, a falloff map actually works. I’ve tried it out and added it to the end of the article. The falloff map will make the edges of the sprites transparent if you put a black color in the second slot of the falloff map and set the mode to perpendicular/parallel.
Thanks. Not sure why I still see a few edges in my renders. But you are right, it does get rid of the edges. It could be something to do with the opacity map, but I feel I can still see where some planes intersect each other. Even still, this looks great though.
Dave,
I found that I needed a lot of sprites with a pretty transparent material to get a full and fluffy look. You could try to increase your amount of sprites and decrease the opacity of your map. It increases rendertimes though.
Great blog by the way, love your showreel and the music!
Thanks again. I will give it a try with more sprites. I had a feeling that I did not have near the right amount, but I was trying to keep render times down.
thanks for the extra tips!
there is no translucency in your method ..this is all important part that you totally missed FAIL! you need Grant Adam Translucency plugin to bake it in the vertices.
Hi Woof,
thanks for going through this post pointing that out in such a positive way! If I recall correctly Damian uses the translucency plugin but also says you can do it without the plugin by just layering some vertex paint modifiers. I didn’t feel like installing yet another plugin, so I used the alternative.
I didn’t miss it however, it’s described in this walktrough and I even put a link to Grant Adams site.